Lab: Ansible Development in Dev Spaces
We will explore the Red Hat OpenShift Dev Spaces environment you will be working within and learn how to launch and configure development workspaces for Ansible automation development. This includes understanding the various components available in the lab environment, authenticating with git repositories, and using the Ansible Development Tools.
This lab walks through the various components within the lab environment including launching, configuring and using Dev Spaces on OpenShift as your primary development environment for Ansible.
Learning Objectives
After completing this module, you will be able to:
-
Navigate the Red Hat OpenShift Dev Spaces interface
-
Launch and configure development workspaces
-
Understand the components included in the lab environment
-
Set up authentication for git repositories
-
Use basic Ansible Development Tools features
1: Introduction: What is included in the lab environment
-
Red Hat OpenShift Cluster
-
Ansible Automation Platform
-
Red Hat OpenShift Dev Spaces
-
Gitea Git Server
-
Lab Instructions
2: Contributing to this Lab Documentation
If you see an error in this lab, fork and submit a pull request against https://github.com/sabre1041/ansible_bootcamp_enablement
3: Dev Spaces console
Red Hat OpenShift Dev Spaces provides consistent, reproducible development environments based on the open-source project Eclipse Che.
It provides, by default, a Visual Studio Code (VS Code) environment as configured by a devfile, a YAML file that defines the entire workspace as code—including all necessary tools, runtimes, and project source. This file is used to instantly generate a pre-configured, containerized development environment, ensuring every developer on a team has an identical setup and solving the "it works on my machine" problem.
3.1: Launching Dev Spaces from OpenShift
-
Launch the OpenShift Web Console
-
Select the htpasswd_provider button and use the credentials provided in the Environment Details page to login to the OpenShift console
-
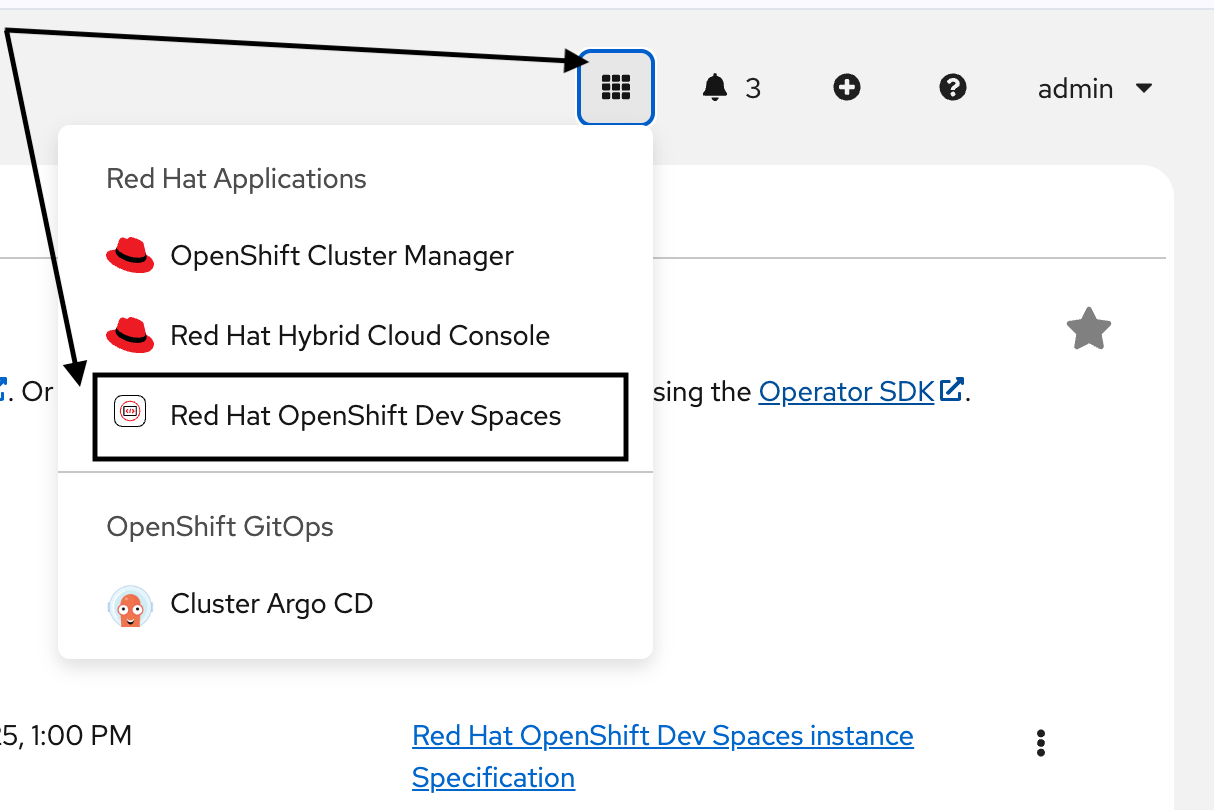
Use the 9-block icon in the upper right to launch Red Hat OpenShift Dev Spaces directly from the OpenShift console header.
4: Dev Spaces Workspace
4.1: Launching a specific Dev Spaces Workspace
Once you have launched the OpenShift Dev Spaces console, use the following steps toe access your Ansible Dev Space workspace.
-
Login via OpenShift authentication using the same credentials as the OpenShift console
-
Select Allow selected permissions to authorize access and launch the console
-
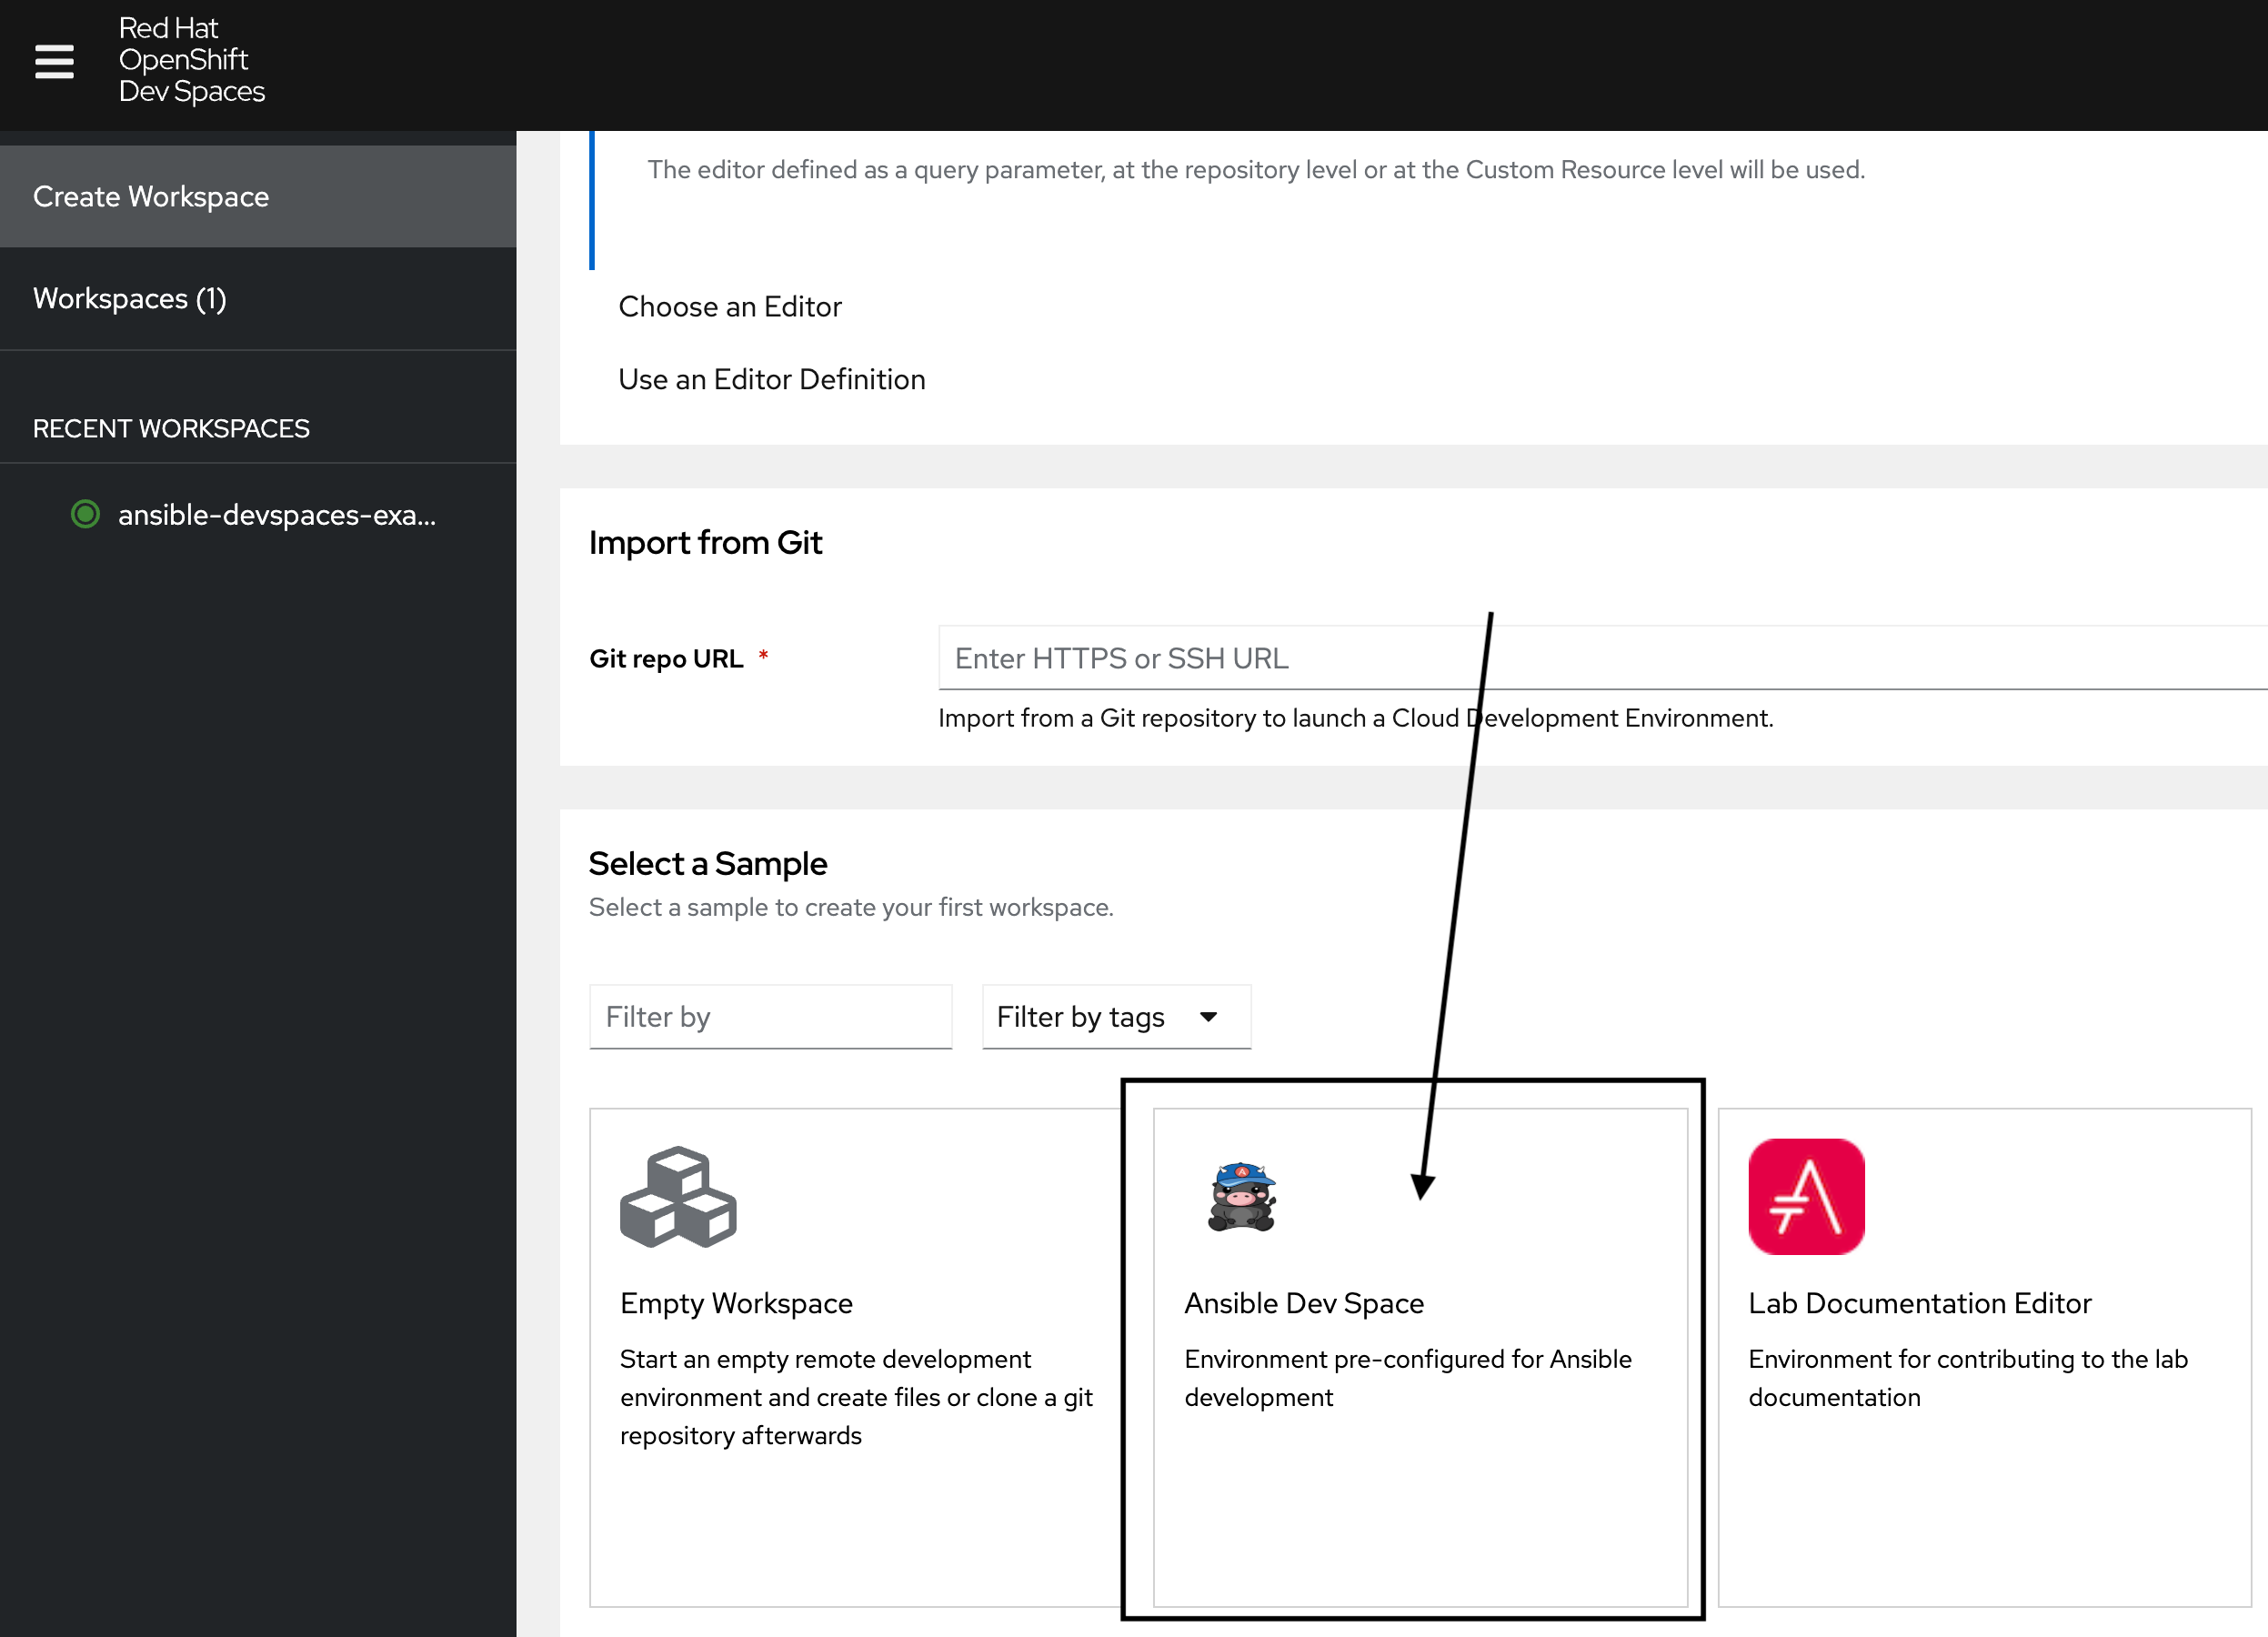
Scroll down and select the workspace titled Ansible Dev Space
It will take a few minutes for the Dev Spaces instance to initialize. When it has loaded, a Visual Studio Code interface will appear. 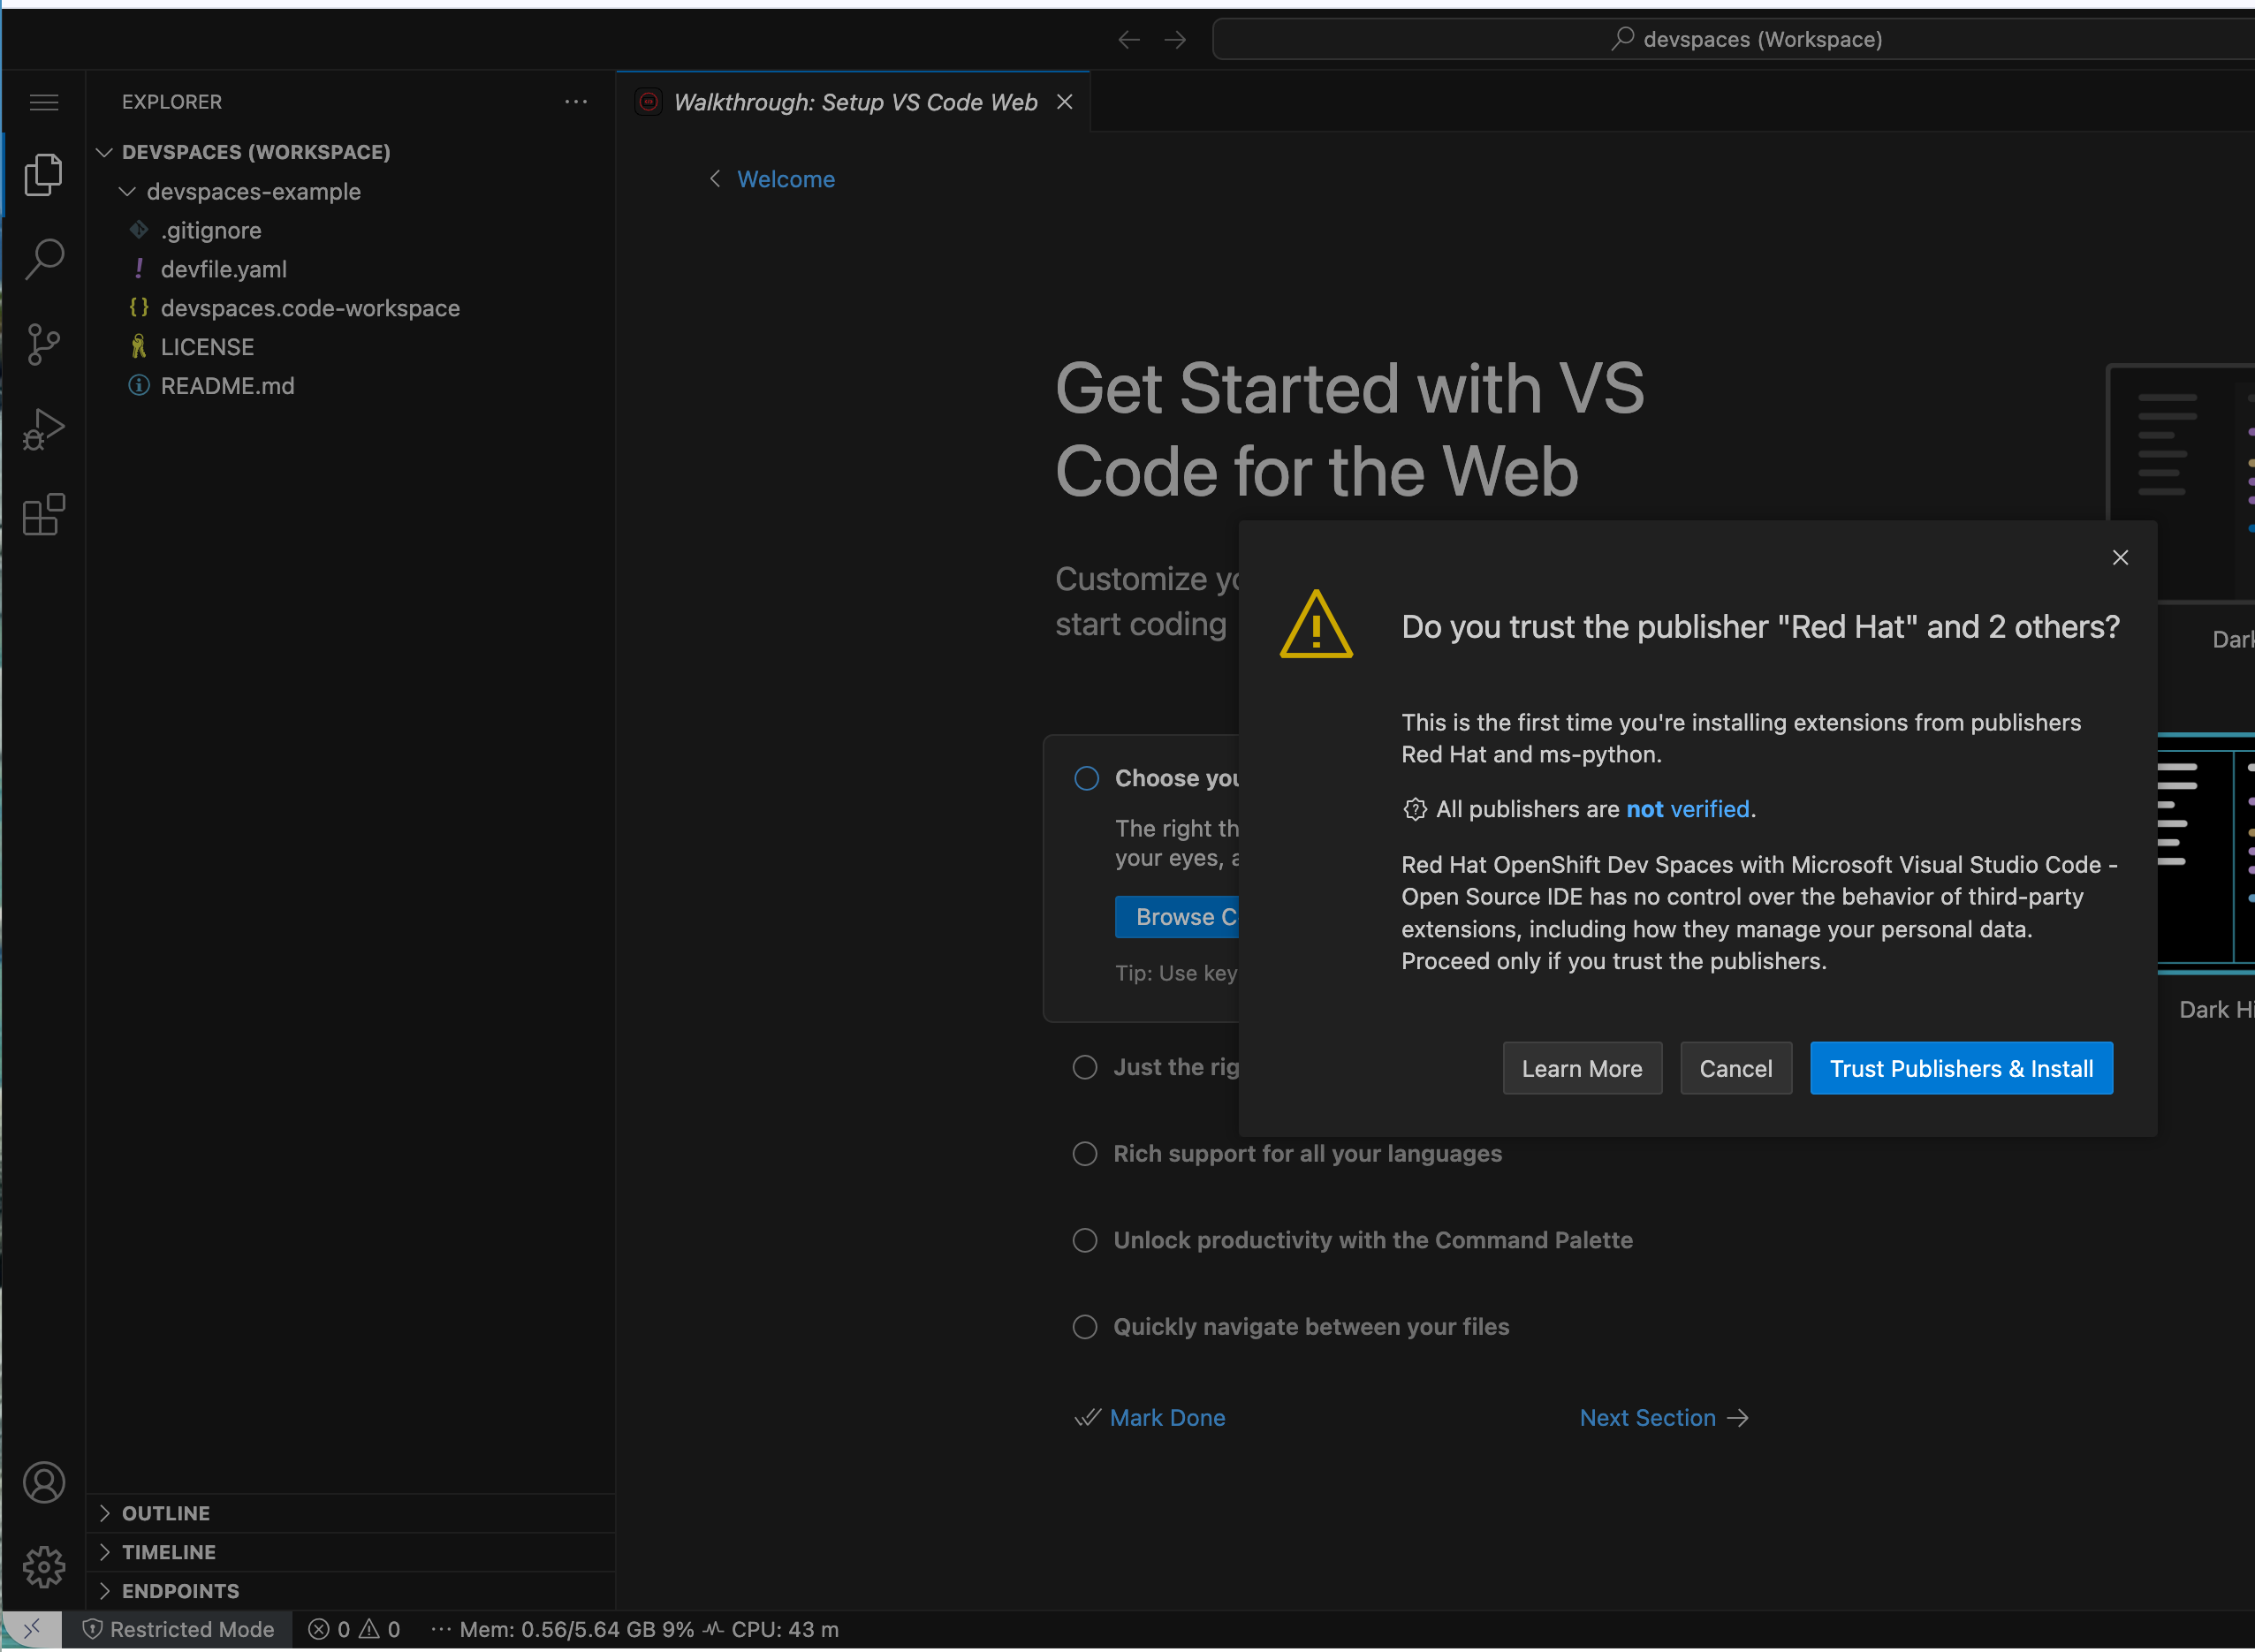
-
Click the Trust Publishers and Install button to trust the extension publishers that are included within the Dev Spaces workspace
-
Click the Yes, I trust the Authors button to trust the workspace authors (your instructors).
-
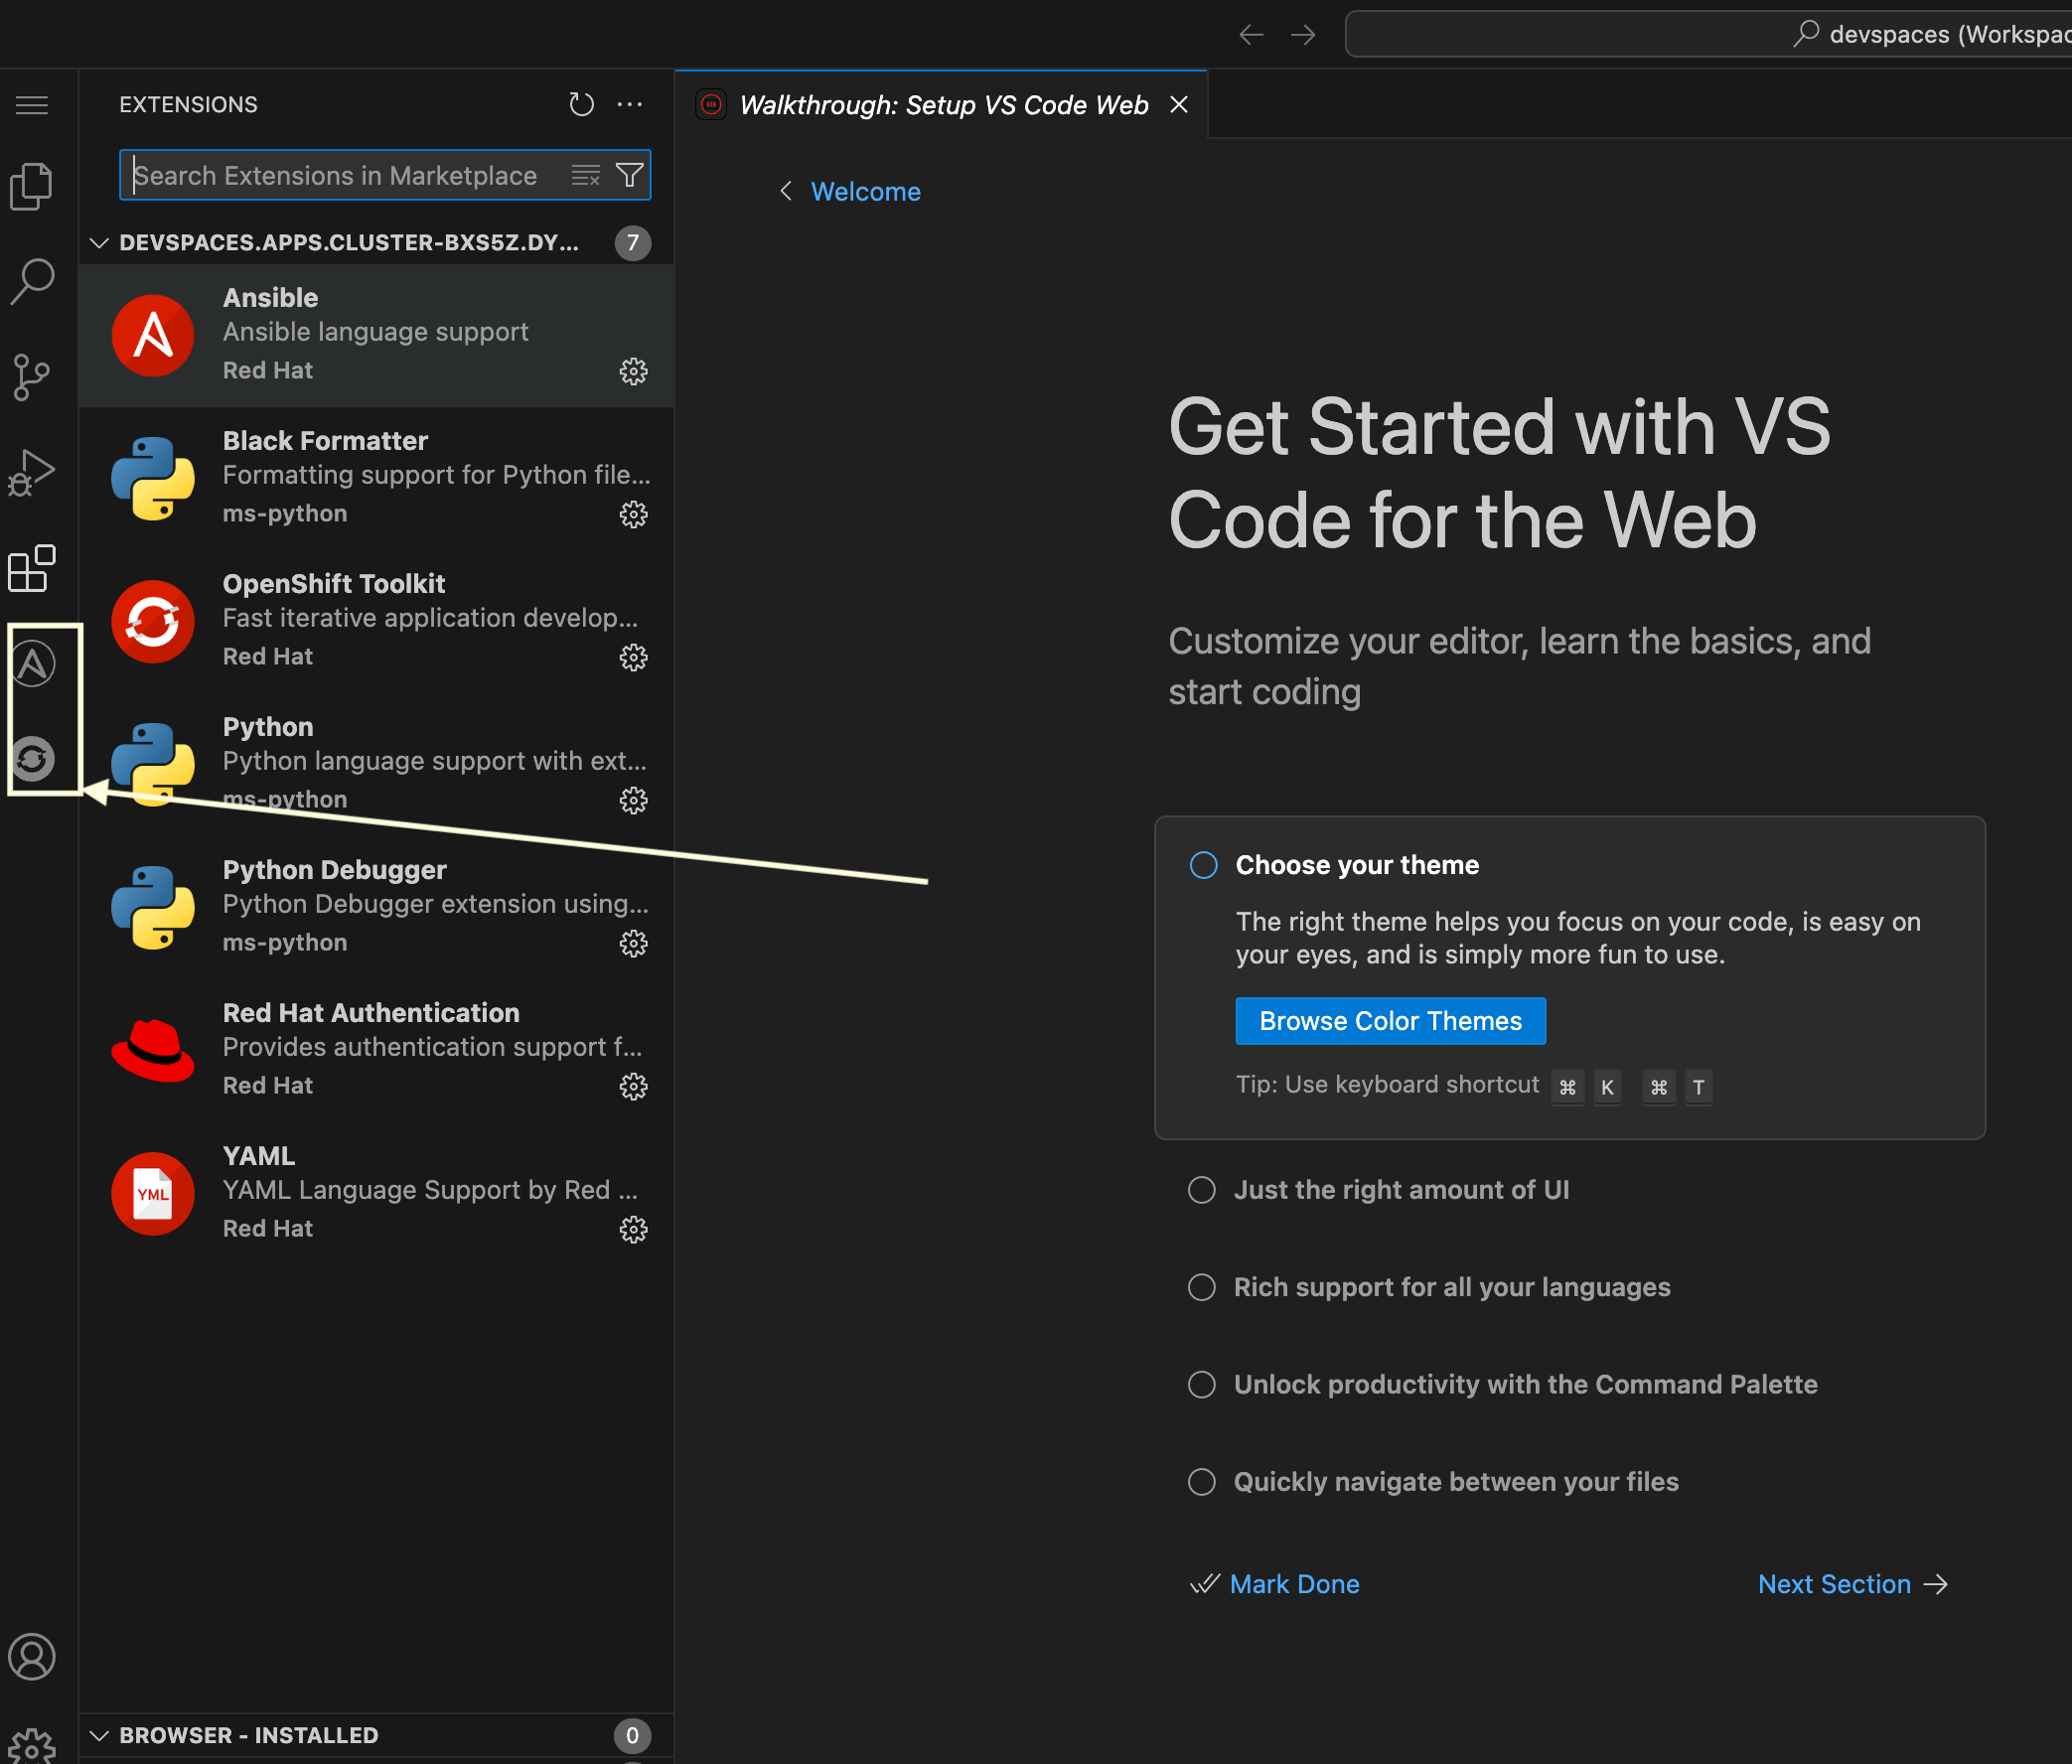
Wait a few minutes until the additional extension icons appear for Ansible and OpenShift on the left side.
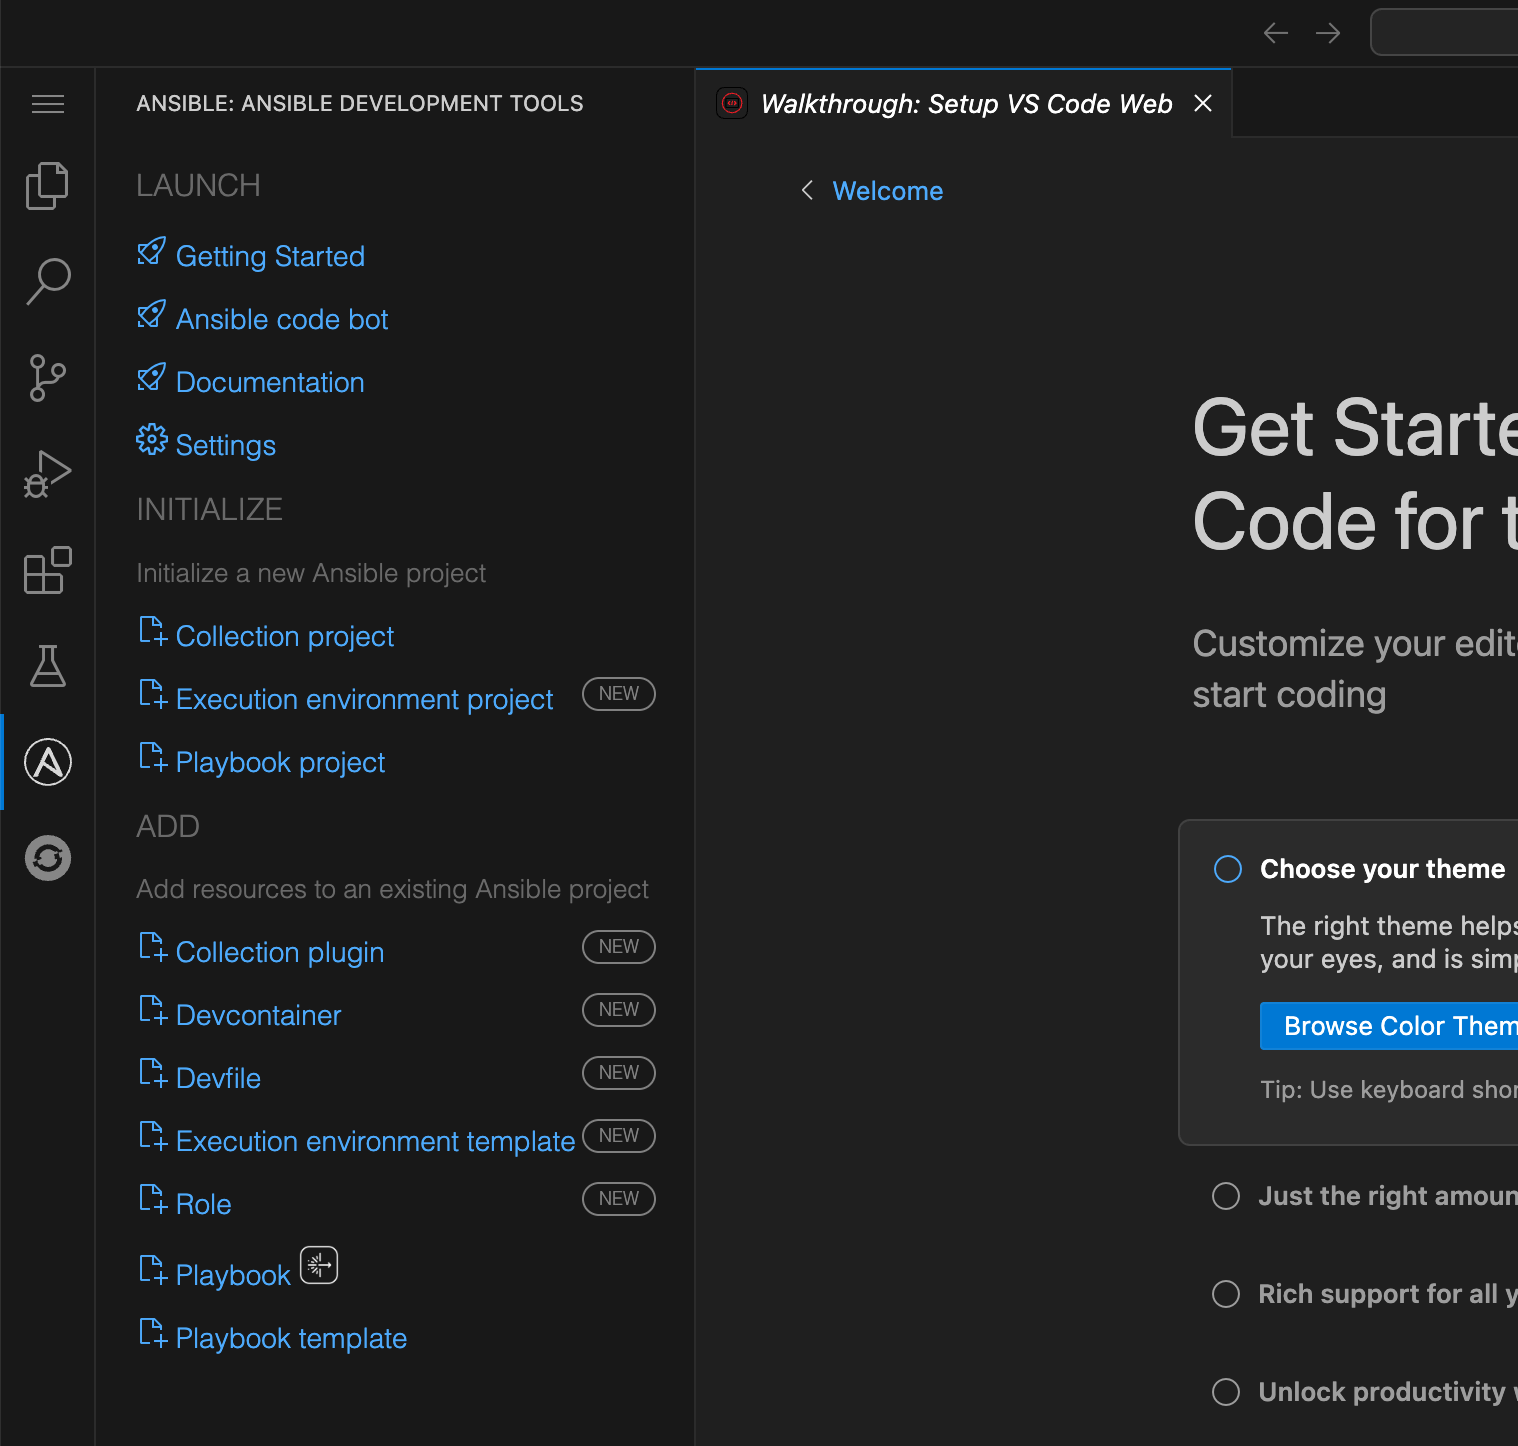
5: Ansible and OpenShift Extensions
For this lab, we have have provided a .code-workspace configuration that included these extensions along with additional configurations to curate your development environment. See https://github.com/jeffcpullen/devspaces-example/blob/main/devspaces.code-workspace for the source of this workspace configuration.
-
Click on the Ansible extension icon to access the Ansible Development Tools extension (covered in a subsequent lab)
6: User Credentials in Workspaces
| This section describes a key feature of OpenShift Dev Spaces which enables secure access to git repositories. These details are shared for informational purposes only. No action is required to be performed in your Dev Spaces workspace. |
OpenShift Dev Spaces includes the capability to store user credentials for Git repositories, such as Personal Access Tokens (PATs), which can be applied to all your workspaces. This can be accomplished after logging into the Red Hat OpenShift Dev Spaces dashboard. Click on the top right drop down next to your username and icon and select, User Preferences. In the User Preferences page, select Personal Access Tokens and add a git Personal Access Token (PAT) associated with the desired Git provider.
For more information, see the Authenticating to a Git server from a Workspace.
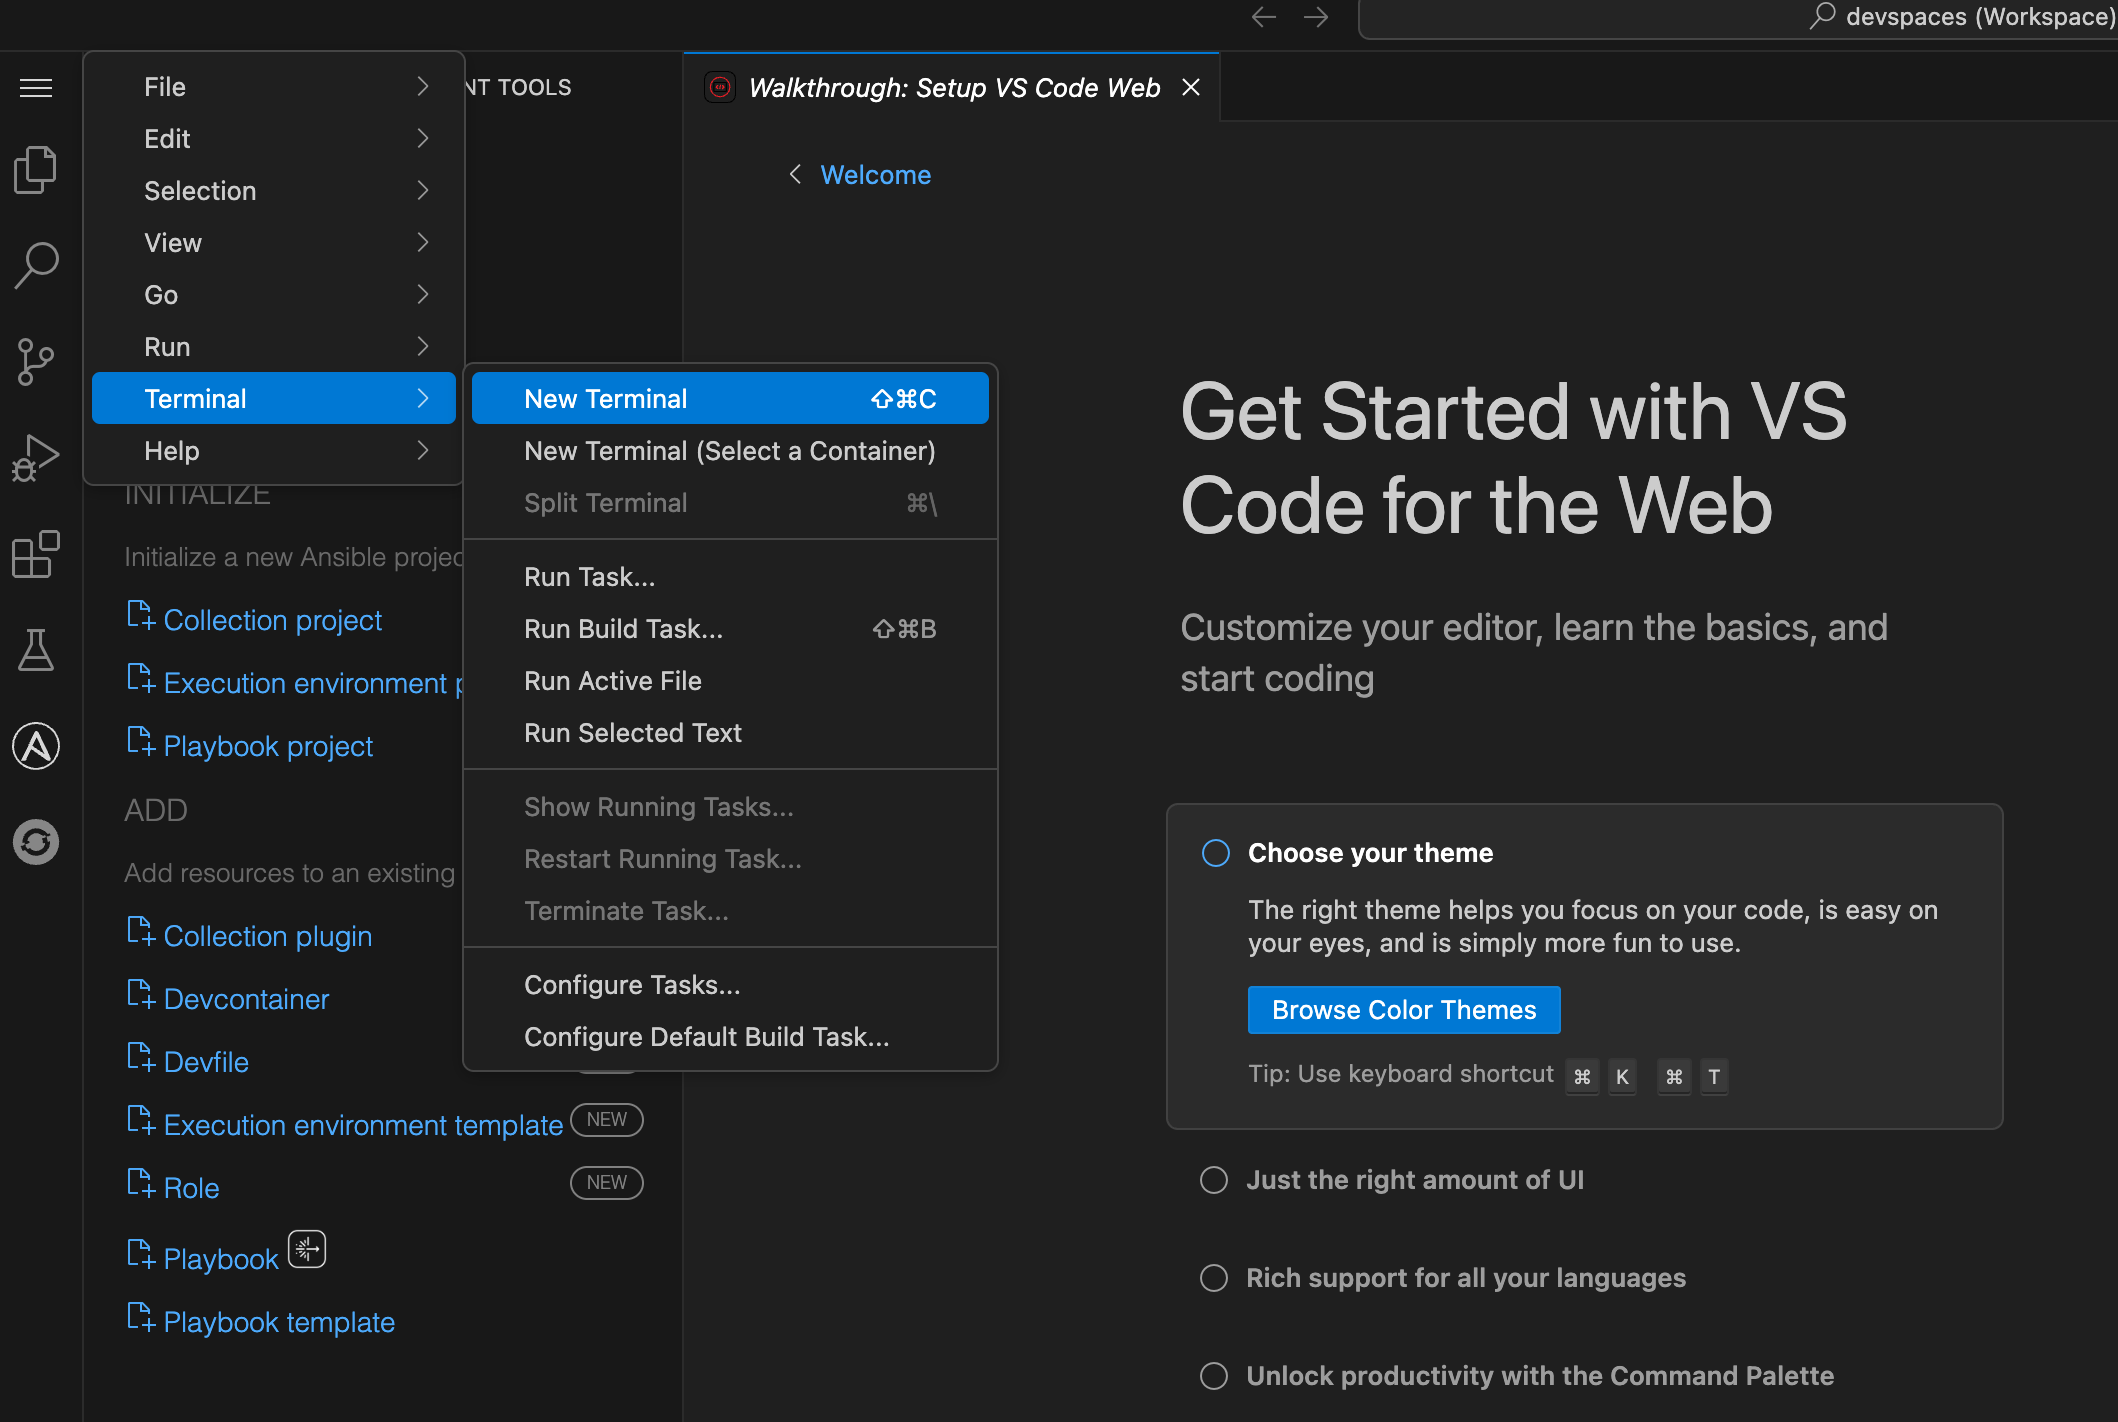
7: Accessing a Terminal
The majority of the exercises in this lab will be performed using the Visual Studio Code terminal.
-
Open a new terminal by selecting the VS Code menu starting with the hamburger (3 horizontal lines) in the top left, then selecting Terminal → New Terminal
-
Explore the environment:
$ whoami

user
cat /etc/redhat-release`
Red Hat Enterprise Linux release 9.6 (Plow)$ ansible --version
ansible [core 2.16.14]
config file = None
configured module search path = ['/home/user/.ansible/plugins/modules', '/usr/share/ansible/plugins/modules']
ansible python module location = /usr/local/lib/python3.11/site-packages/ansible
ansible collection location = /home/user/.ansible/collections:/usr/share/ansible/collections
executable location = /usr/local/bin/ansible
python version = 3.11.11 (main, Aug 21 2025, 00:00:00) [GCC 11.5.0 20240719 (Red Hat 11.5.0-5)] (/usr/bin/python3.11)
jinja version = 3.1.6
libyaml = TrueConclusion
In this lab, you have learned:
-
The resources provided in the lab environment
-
Assessing the OpenShift environment
-
How to launch and navigate an Red Hat OpenShift Dev Spaces workspace
-
How to provide feedback and contributions to this lab environment
This foundation prepares you to start your Ansible Bootcamp Enablement journey.