Geofencing
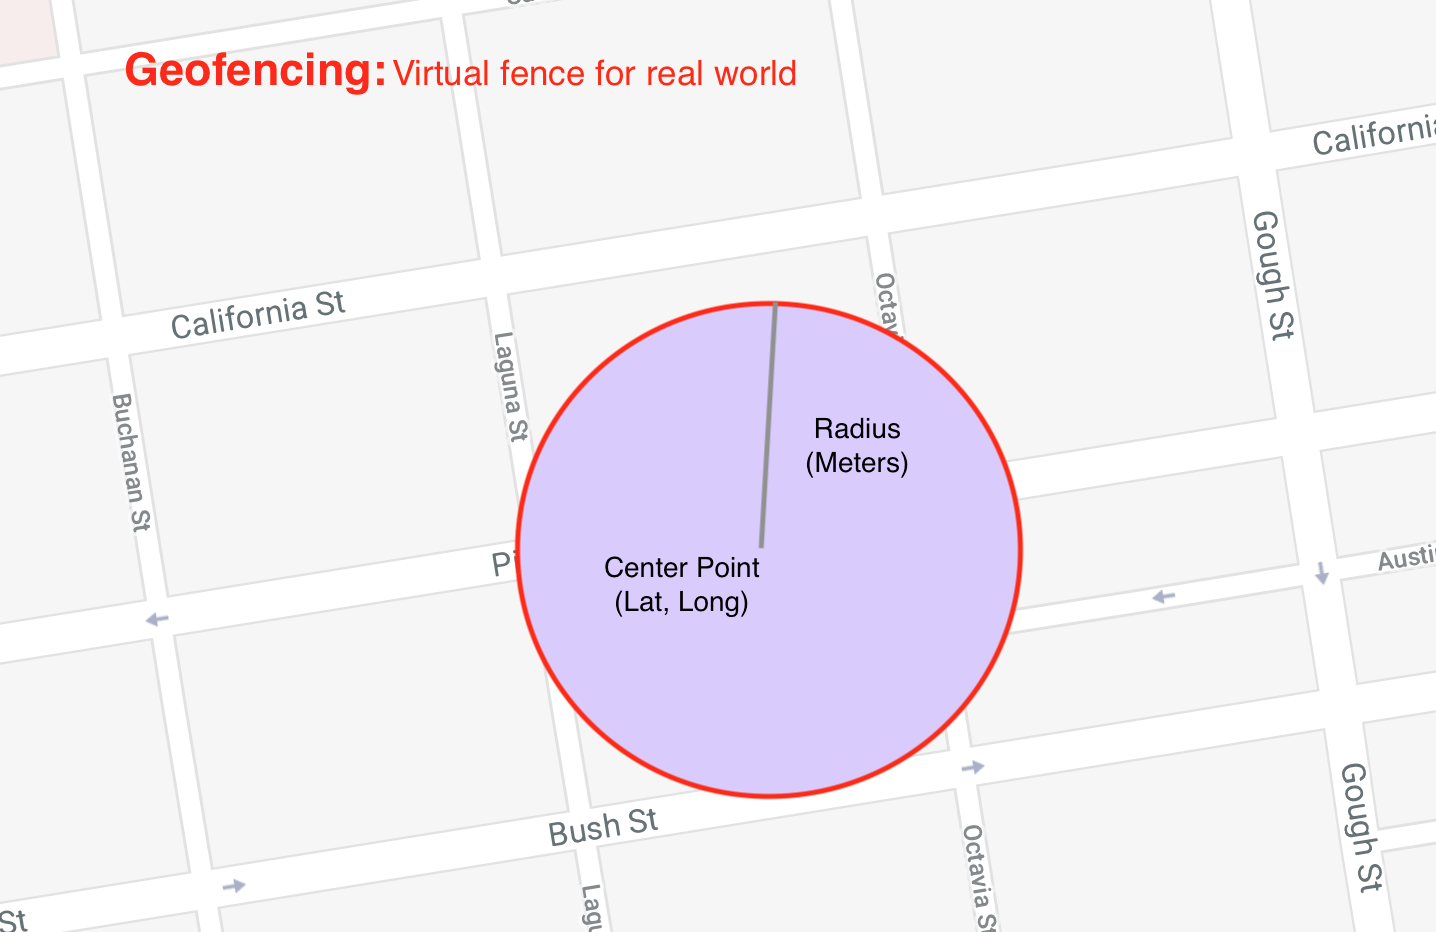
Geofence is a virtual perimeter for a geographic area. A geofence can be set dynamically e.g. circle around a center point or defined as a boundary around an area. Geofencing can be used for several IoT use cases including asset tracking, security & surveillance, retail etc. In the use case for this lab, factory equipments are geofenced by their assigned location.
Haversine formula
To determine whether something is within its geofence, haversine formula is used. The haversine formula determines the great-circle distance between two points on a sphere given their longitudes and latitudes.
For any two points on a sphere, the haversine of the central angle between them is given by:
Haversine formula:
a = sin²(Δφ/2) + cos φ1 ⋅ cos φ2 ⋅ sin²(Δλ/2)
c = 2 ⋅ atan2( √a, √(1−a) )
d = R ⋅ c
where
φ is latitude, λ is longitude, R is earth’s radius (6,371km)| All angles need to be in radians to pass to trig functions |
The value needs to be converted from degrees to radians using the formula:
Radians = degrees * (pi/180)The JavaScript action implementing haversine formula is already provided for this lab. This action is located iot-serverless-openwhisk-functions/geofence/geofence.js. Take a moment and familiarize yourself with the source code. It is important that no modifications to the file be made as it may impact the expected outcome of the lab.
Create Geofence Action
Using the provided function, make sure you are at the root of the project folder and use the wsk tool to create an action called geofence:
$ cd /home/lab-user/iot-serverless/
$ wsk -i action update iot-serverless/geofence iot-serverless-openwhisk-functions/geofence/geofence.js

ok: updated action iot-serverless/geofence
Confirm the action has been created by describing the contents of the iot-serverless package.
$ wsk -i package get iot-serverless --summary

package /whisk.system/iot-serverless
   (parameters: none defined)
 action /whisk.system/iot-serverless/geofence
   (parameters: none defined)
 action /whisk.system/iot-serverless/iotServerlessSequence
   (parameters: none defined)
 action /whisk.system/iot-serverless/enricher
   (parameters: none defined)
 action /whisk.system/iot-serverless/formatInput
   (parameters: none defined)
Finally, since a new action was created, we will need to update the iotServerlessSequence sequence action so that the geofence action is added and executed after the enricher action.
Update the sequence action by executing the following command:
$ wsk -i action update iot-serverless/iotServerlessSequence --sequence iot-serverless/formatInput,iot-serverless/enricher,iot-serverless/geofence

ok: updated action iot-serverless/iotServerlessSequence
Verifying the Geofence Action
Lets see how to use this in a real life scenario of a factory that wants to monitor an asset called "DIN Rail power supply". This asset is expected to be located at (37.784393, -122.401399) and can move only within an assigned area (3m). This radius is within the spare inventory section in the warehouse. If this asset moves outside this assigned area (geofence), then an alert will be triggered. Let’s say the asset now reports its current location as (37.784420, -122.401399) which is outside its geofence then the action sequence should set a value of alert: 1 in the payload.
Test this scenario with the sequence we created above by directly invoking the sequence action:
$ wsk -i action invoke iot-serverless/iotServerlessSequence --param topic /sf/warehouse/power-supply --param data "37.784420 -122.401399" --result

{
    "alert": 1,
    "center_latitude": "37.784393",
    "center_longitude": "-122.401399",
    "data": "37.784420 -122.401399",
    "geofence_radius": "1.0",
    "latitude": "37.784420",
    "location": "Warehouse",
    "longitude": "-122.401399",
    "name": "DIN Rail power supply 240-24",
    "picture": "DIN-Rail.jpg",
    "topic": "/sf/warehouse/power-supply"
}
Notice how "alert": 1 was part of the returned payload. This indicates that the geofence action calculated that the asset was outside of the permitted area. If the asset was within the geofenced region, then a value of "alert": 0 would have been returned.
Inserting Records into the Database
The final step in the data flow after all of the prior actions have executed is that the records need to be persisted so that it may be retrieved at a later point in time. Records will be inserted into the MongoDB database through the use of an action called dbInsert. Since the connectivity requires database drivers and additional dependencies, a Node.js based function will be used once again.
First, from the root of the project folder, navigate to the folder containing the source for the dbInsert action:
$ cd /home/lab-user/iot-serverless/iot-serverless-openwhisk-functions/dbinsertInstall all of the dependencies that are defined in the package.json file.
$ npm installTo connect to MongoDB from the action, the properties are once again externalized using environmental variables. Fortunately, since the same persistent store is being used for this action as in the enricher action utilized in a prior lab, same same .env file can be reused.
Copy the .env file from the enricher action to the current directory for the dbInsert action
$ cp ../enricher/.env .Now, package up the Node.js application:
$ npm run packageCreate a new action called iot-serverless/dbInsert by executing the following command:
$ npm run deploy

> iot-serverless-openwhisk-functions-dbinsert@1.0.0 deploy /home/lab-user/iot-serverless/iot-serverless-openwhisk-functions/dbinsert
> wsk -i action update iot-serverless/dbInsert dist/dbinsert.zip --kind nodejs:8

ok: updated action iot-serverless/dbInsert
Confirm the the action called iot-serverless/dbInsert has been created within the iot-serverless package:
$ wsk -i package get iot-serverless --summary

package /whisk.system/iot-serverless
   (parameters: none defined)
 action /whisk.system/iot-serverless/dbInsert
   (parameters: none defined)
 action /whisk.system/iot-serverless/iotServerlessSequence
   (parameters: none defined)
 action /whisk.system/iot-serverless/geofence
   (parameters: none defined)
 action /whisk.system/iot-serverless/enricher
   (parameters: none defined)
 action /whisk.system/iot-serverless/formatInput
   (parameters: none defined)
There should now be 5 actions displayed (4 normal actions and 1 sequence action)
Update the sequence action to include all of the previously created actions:
$ wsk -i action update iot-serverless/iotServerlessSequence --sequence iot-serverless/formatInput,iot-serverless/enricher,iot-serverless/geofence,iot-serverless/dbInsert

ok: updated action iot-serverless/iotServerlessSequence
Validate Entire Sequence of Action
Now that we have created the entire series of OpenWhisk actions tied together by a sequence action to process the data which will be transmitted from IoT assets, lets validate the entire flow which will result in a document entered into the MongoDb database.
Yet again, fire the _iotServerlessTrigger _trigger using the same set of arguments that have been utilized previously:
$ wsk -i trigger fire iotServerlessTrigger --param topic /sf/boiler/controller --param data "37.784237 -122.401410"

ok: triggered /_/iotServerlessTrigger with id c7da4755f81946df9a4755f81926df9b
Determine the results of the activations from both the trigger and rule. A result similar to the following indicates the record was successfully saved to MongoDB.
    "response": {
        "status": "success",
        "statusCode": 0,
        "success": true,
        "result": {
            "result": "ok"
        }
    },
Obtain a shell session in the MongoDB pod by executing the following command:
$ oc rsh $(oc get pods -l=deploymentconfig=mongodb -o 'jsonpath={.items[0].metadata.name}') bash -c "mongo 127.0.0.1:27017/\${MONGODB_DATABASE} -u \${MONGODB_USER} -p \${MONGODB_PASSWORD}"

MongoDB shell version: 3.2.10
connecting to: 127.0.0.1:27017/iotserverless
Welcome to the MongoDB shell.
For interactive help, type "help".
For more comprehensive documentation, see
	http://docs.mongodb.org/
Questions? Try the support group
	http://groups.google.com/group/mongodb-user
>
The dbInsert action persists data into a collection called results. Query the values of the collection by executing the following command:
> db.results.find()A single value should be returned similar to the following:
{ "_id" : ObjectId("5aed26bbd9ca04f727a34329"), "name" : "Surface blow down controller", "location" : "Boiler room", "latitude" : "37.784237", "alert" : 0, "data" : "37.784237 -122.401410", "geofence_radius" : "1.0", "longitude" : "-122.401410", "picture" : "Blowdown-Controller.jpg", "topic" : "/sf/boiler/controller", "center_longitude" : "-122.401410", "center_latitude" : "37.784237", "date" : ISODate("2018-05-05T03:36:27.628Z") }Finally, remove the test data by dropping the contents of the results collection as to not affect the actual data that will be entered later on
> db.results.drop()

true
Exit out of the MongoDB shell
Finally, exit out of the MongoDB pod
At this point the OpenWhisk actions have been successfully been validated
![]()
![]()
![]()